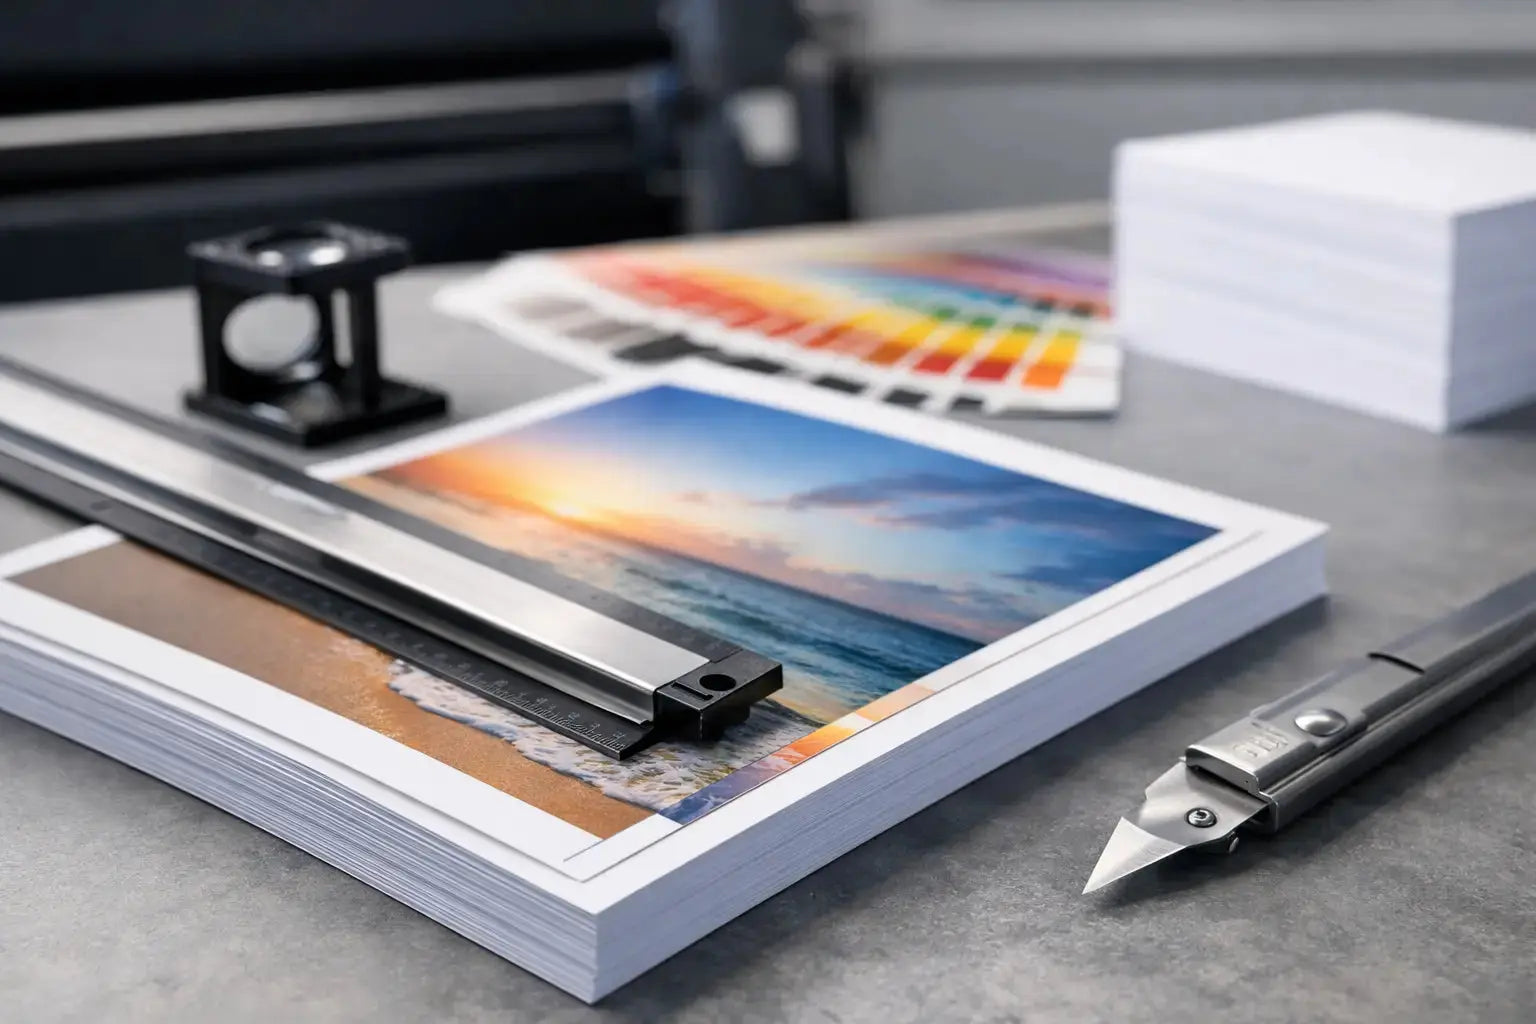
A brochure looks perfect on screen, then comes back with a thin white line at the edge after trimming. That usually points to one setup issue: bleed. If you have ever asked what is bleed margin in printing, the short answer is simple - it is the extra image area that extends past the final trim size so your design prints cleanly to the edge.
For businesses ordering flyers, product packaging, labels, presentation folders, menus, or event materials, bleed is not a technical extra. It is a basic production requirement when artwork includes backgrounds, photos, patterns, or color blocks that reach the edge. Getting it right helps avoid rework, delays, and inconsistent brand presentation.
What is bleed margin in printing?
Bleed margin in printing is the area that extends beyond the finished cut size of a printed piece. After printing, sheets are trimmed down to their final dimensions. Because trimming always has a small tolerance, artwork must continue past the cut line. That extra area is the bleed.
For example, if a flyer finishes at 8.5 x 11 inches and requires a 0.125 inch bleed on all sides, the file should be built at 8.75 x 11.25 inches. The final size stays 8.5 x 11, but the design extends outward so there is no unwanted white edge if the cut shifts slightly.
Many buyers confuse bleed with margins, but they serve different purposes. Bleed goes outside the trim line. Margins sit inside the trim line and protect important content such as logos, text, QR codes, or contact details from being cut too close to the edge.
Why bleed matters in professional printing
Commercial printing is precise, but no finishing process trims every sheet at exactly the same microscopic point. There is always a small movement range in guillotine cutting, die-cutting, or finishing. Bleed accounts for that reality.
Without bleed, even a slight trim variation can leave a visible white sliver at the edge of your piece. On a business card or postcard, that can make an otherwise strong design look unfinished. On product packaging or branded inserts, it can affect how customers perceive quality.
Bleed is especially important for designs with full-background color, edge-to-edge photography, dark borders, gradients, and patterns. If your design stops exactly at the trim line, the printer has no room for adjustment. If it extends beyond it, the final piece still looks intentional and clean.
For procurement teams and marketing departments, that matters for a practical reason: fewer production issues. Correct bleed setup helps keep jobs on schedule and reduces the chance of artwork revisions after file review.
Bleed, trim, and safety margin - the difference
The three terms are related, but they should never be treated as interchangeable.
The trim line is the final cut size of the printed item. That is the size you order, such as an A5 flyer, a custom label, or a standard business card.
The bleed is the area beyond that trim line. It is printed but cut off during finishing.
The safety margin, sometimes called the safe zone, is the area inside the trim line where critical content should stay. Text, logos, and important visual elements should not sit too close to the edge because even a slight trim shift can make them look off-center or cramped.
A file can have correct bleed and still be poorly designed if text is too close to the cut line. That is why professional print setup always considers both outside extension and inside spacing.
Standard bleed sizes and when they vary
In many commercial print jobs, the standard bleed is 0.125 inch on each side. That is the most common setup for flyers, brochures, business cards, leaflets, and similar marketing materials.
That said, it depends on the product and finishing method. Large-format graphics, custom packaging, die-cut stickers, labels, folders, tent cards, and exhibition materials may require different bleed settings. A box with custom folds and cut shapes will not follow the same file rules as a flat postcard.
This is where buyers should avoid assumptions. Standard bleed works for many jobs, but not all. If a product includes die lines, folds, perforations, or special finishing, the print specification should guide the artwork setup. A reliable print partner will normally provide the correct template or production dimensions before artwork is finalized.
How to set up bleed correctly in your artwork
The right setup starts at the design stage, not after the file is finished. Most professional design software allows you to define bleed when creating the document. Once that is in place, backgrounds and images that touch the edge should extend fully into the bleed area.
If you add bleed at the end without extending the artwork properly, the file may technically include bleed dimensions but still fail in production. The extra area must contain actual design content, not blank space.
Text and logos should remain inside the safe zone. As a practical rule, keep important elements at least 0.125 inch inside the trim line unless the product specification says otherwise. For smaller items like business cards or labels, a little extra breathing room often improves the final result.
When exporting the file, use the printer's requested format and make sure crop marks and bleed settings are included if required. PDF is commonly preferred for commercial print because it preserves layout, fonts, and production settings more reliably than editable working files.
Common mistakes that cause print issues
The most common mistake is assuming a full-page background automatically includes bleed. It does not unless the file itself is built larger than the final trim size.
Another issue is placing borders too close to the edge. Even with correct bleed, a thin border around all four sides can look uneven after trimming because minor movement becomes more visible. If a border is essential to the design, it needs careful planning.
Low-resolution artwork is another hidden problem. Bleed only solves edge coverage, not image quality. If a photo is stretched to fill the bleed area but lacks enough resolution, the final print may look soft. Good setup means balancing dimensions, bleed, and image quality together.
Teams also run into trouble when they reuse digital artwork for print without adjustment. Social media graphics, presentation slides, and web banners are not built for trim tolerances. A print-ready file needs production dimensions, bleed, and safe margins from the start.
What is bleed margin in printing for different products?
The answer stays the same, but the application changes by product.
For flyers and brochures, bleed ensures background color or imagery runs cleanly to the edge. For business cards, it helps maintain a polished finish on small-format pieces where every millimeter is noticeable. For stickers and labels, bleed becomes even more important when custom shapes or die-cutting are involved. For packaging, bleed works alongside folds, glue areas, and cut paths, so setup must be more exact.
Large-format graphics can also require bleed, especially when panels are trimmed or mounted. However, the bleed amount may be different from standard sheet-fed print work. That is why product-specific guidance matters more than general rules.
How to avoid delays when ordering print
The fastest way to keep a print job moving is to confirm artwork specifications before the design is approved internally. That includes finished size, bleed, safe area, color mode, file format, and any dieline or finishing requirements.
For businesses managing repeat campaigns across multiple branches, it helps to create standardized artwork templates. That reduces errors and keeps brand assets consistent across menus, shelf talkers, event handouts, and promotional packaging.
If your team is unsure whether a file includes proper bleed, ask for a prepress check before production begins. That small step can prevent a larger problem after printing. At Printava, this is exactly the kind of detail that helps business orders move from artwork to delivery with fewer revisions and better output quality.
Bleed margin is a small setup detail, but it has a direct impact on how professional your printed materials look in hand. If your design goes to the edge, build for bleed from the beginning, keep key content safely inside, and confirm the production spec before sending the file. That extra attention pays off where it counts - on the finished piece your customer actually sees.