
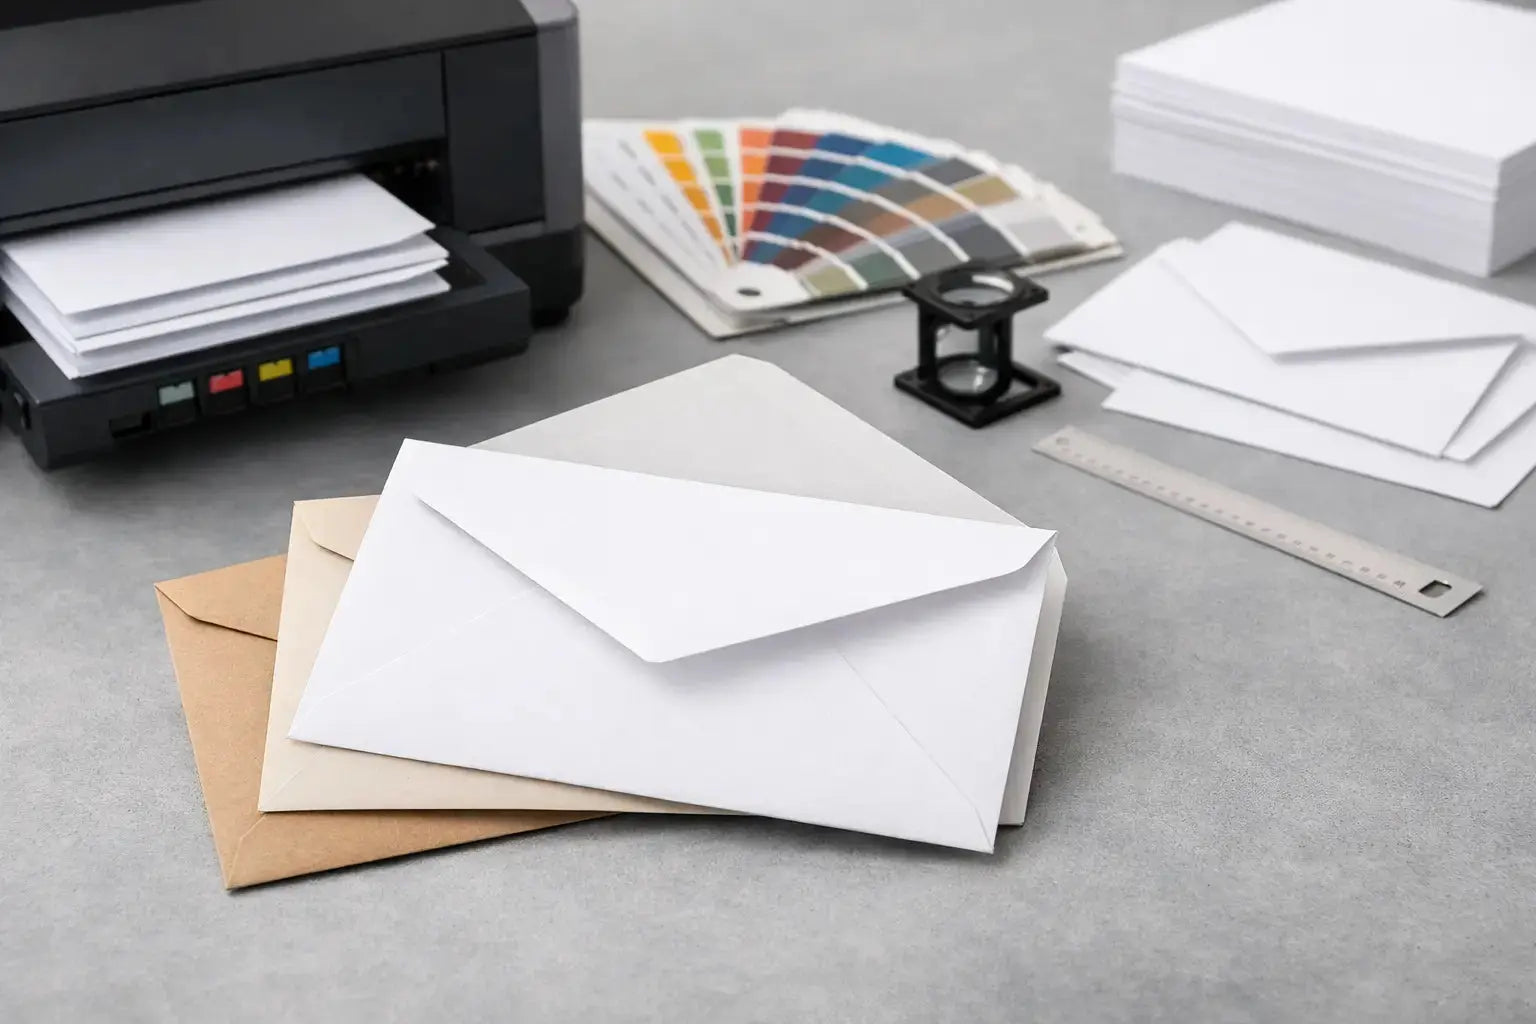
An envelope is often the first branded item a client, supplier, or event guest handles. A thoughtful guide to envelope printing specifications helps your business avoid mismatched inserts, unclear address areas, and artwork that does not reproduce as intended. The right specification turns a routine mailing piece into a consistent extension of your letterhead, proposals, invoices, invitations, and corporate communications.
Start With the Envelope Size and Its Insert
Envelope size should be chosen around what goes inside, not only around the visual design. A folded A4 letter, an invoice, a certificate, or a greeting card each needs a different format. Selecting the envelope first can lead to extra folding, tight stuffing, or an insert that shifts during delivery.
For many UAE business applications, DL envelopes are a practical choice for A4 sheets folded into thirds. C5 envelopes fit an A4 sheet folded once, while C4 envelopes accommodate an unfolded A4 document. Square and invitation-style formats can create a stronger presentation for launches, hospitality, retail campaigns, and event invitations, but they may have different mailing or handling requirements.
Before approving production, confirm the finished dimensions of every insert, including any folders, cards, brochures, or reply materials. Leave enough clearance for easy insertion and removal. A close fit may look tidy initially, but it can crease documents and slow down fulfillment.
Consider Orientation and Flap Style
Most business envelopes are supplied with a flap on the long edge, which works well for standard letters and invoices. A short-edge flap can suit certificates, larger documents, or specific presentation layouts. Your artwork must match the selected orientation. A logo positioned for a landscape envelope will look incorrect if the final product uses a portrait flap configuration.
Flap style also affects usable print space. A straight flap provides a clean, formal appearance, while a pointed or wallet-style flap can add character to premium invitations and promotional mail. Discuss the flap layout before finalizing artwork, particularly if the design includes a pattern, color block, or branding on the reverse.
Guide to Envelope Printing Specifications: Artwork Setup
Envelope printing requires more than placing a logo in the top-left corner. The final result depends on print area, margins, color files, and the space needed for addressing and postal marks.
Set artwork at the exact finished envelope size, based on the printer's supplied template. Templates show flap folds, sealing areas, print-safe zones, and any areas where printing may be restricted. Do not assume that every part of an envelope can receive ink. Folds, seams, and gum areas can affect coverage and registration.
Use CMYK artwork for full-color printing unless a specific spot color is required. Brand colors that must remain highly consistent across stationery may benefit from Pantone matching, subject to the chosen printing method and stock. Supply logos as vector files where possible, such as AI, EPS, or print-ready PDF. Photos and raster graphics should be at least 300 dpi at final size.
Keep important content inside a safe margin from all edges, folds, and seams. If your design includes a background color or pattern that runs to the edge, it may require bleed. The exact bleed allowance depends on the envelope format and production process, so use the approved template rather than a generic document setting.
Protect the Address and Postal Areas
An attractive envelope still needs to work operationally. Leave a clear, light-colored area for recipient addressing, whether it will be typed, printed later, or applied as a label. Dense backgrounds, glossy dark inks, and fine patterns can make addresses harder to read and may reduce label adhesion.
The return address usually sits in the upper-left area on the front, while the central and lower-right space should remain available for recipient and postal information. Requirements vary by delivery provider and destination, especially for international mail. Confirm the current layout requirements with your courier or postal provider before ordering a large run.
If your team plans to overprint variable addresses after envelope production, check printer compatibility. Some stocks and finishes perform better than others in office or commercial mailing workflows. This is particularly relevant for high-volume invoices, statements, and direct-mail campaigns.
Choose Paper Stock for the Job
Paper weight and finish influence both appearance and performance. A standard uncoated white or off-white stock is dependable for everyday corporate correspondence. It accepts handwriting, stamps, labels, and variable data well, making it suitable for finance, administration, and professional service businesses.
Heavier stocks feel more substantial and are often used for presentation packs, premium invitations, and executive communication. However, a heavier envelope is not automatically the best option. It can add bulk, affect mailing costs, and may not be necessary for routine documents.
Textured, laid, linen, metallic, and colored papers can create a premium impression for hospitality, property launches, retail gifting, and formal events. These materials need careful artwork choices. Fine text, small reversed-out lettering, and subtle color differences may not reproduce as clearly on a textured or dark stock as they do on smooth white paper.
Coated finishes offer a polished visual effect but can be less practical when recipients need to write on the envelope or when labels must be applied. Uncoated stock is generally the more flexible choice for transactional mail. The best option depends on whether brand presentation, writeability, variable data, or durability is the priority.
Decide Between Windows, Closures, and Special Features
Window envelopes allow an address printed on the insert to show through, reducing manual addressing and supporting efficient billing or document mailings. The window position must align precisely with the document layout. Even a small mismatch can expose the wrong content or hide part of the address.
Provide the printer with the final insert design when specifying a window envelope. Confirm window width, height, placement, and the material used for the window. This extra check is worthwhile for recurring invoice and statement programs, where a setup error can affect an entire mailing batch.
For closures, self-seal and peel-and-seal options are common choices for business use. Peel-and-seal is useful when teams need a clean, secure closure without moistening the flap. Traditional gummed closures may suit certain standard applications, but operational convenience should guide the decision for larger quantities.
Special features such as internal tinting, printed flap interiors, security patterns, or custom die-cut windows can strengthen privacy and brand recognition. They also add complexity, cost, and lead-time considerations. Use them where they support a clear business purpose, such as confidential documents, premium customer communications, or campaign packaging.
Match the Printing Method to Quantity and Design
Digital printing is often effective for shorter runs, multiple versions, and fast-changing information. It can be a practical choice when different departments, branches, or campaigns need distinct envelope artwork. Offset printing is generally suited to larger quantities and consistent designs, particularly when precise spot-color reproduction is required.
The choice also depends on the envelope material. Dark or colored stocks may require white ink or a different production approach to keep branding visible. Large solid areas of ink can look striking, but coverage near seams and folds needs careful planning. A print professional can recommend the most appropriate method after reviewing the stock, quantity, design, and delivery requirement.
Approve a Proof Before Production
A digital proof is your opportunity to check more than spelling. Review logo placement, color values, flap orientation, return-address details, window alignment, and the blank area reserved for recipient information. Compare the envelope design against the letterhead or inserts it will accompany to ensure the brand system feels intentional.
For color-critical work, premium invitations, or large corporate stationery orders, request a physical sample or press proof where available. Screen colors cannot fully represent how ink will appear on textured, colored, or uncoated paper. A sample also lets you assess the feel of the material and the closure in real use.
Before placing your order, prepare a concise specification sheet with these details:
- Finished envelope size and orientation
- Flap style and closure type
- Paper stock, weight, color, and finish
- Window dimensions and placement, if required
- Print sides, ink colors, and any Pantone requirements
- Quantity, artwork files, proof approval contact, and delivery deadline